How to Hide Catalina Update
 Jerry Cook
- Updated on 2019-11-15 to Mac Tips
Well, the updates released by Apple are available for free to the users but some of the users deny that advantage. Apple is very persistent about its updates. Although macOS Catalina brings some of the much-awaited upgrades, users are still not ready for it.
Apple users don’t get conventional updates like others. They are always prepared for multiple glitches when they install a new updated OS. So, most of the time they wait until the multiple version of the said OS gets released. As on the later versions, the number of glitches gets much lower. So, it is mandatory for the users to hide Catalina update notifications, as they are simply not ready for the said advancement.
- Part 1: How to Hide Catalina Update Notification
- Part 2. How to Make macOS Catalina Upgrade Available in Software Update Again
- Part 3. A Useful Tip: Lost Data Recovery After macOS Update?
Part 1: How to Hide Catalina Update Notification
As we discussed there are reasons for the users to hide Catalina update notification. The general opinion is that, they are not ready for it. But it will not be that simple for Mac hide Catalina update.
You have to go through specific steps in order to Catalina update notifications. Let’s take a look;
- 1. First, you need to quit ‘System Preference’ on your Mac.
- 2. After that, you need to launch the ‘Terminal’ app on the device. You need to type the following command line at the Terminal;
- 3. After typing the command, hit ‘Return’.
- 4. Then, you will be asked to enter the ‘Admin Password’. After that, hit ‘Return’ again in order to execute the command with superuser privilege.
- 5. After all those steps are executed properly, go to ‘System Preferences’ and you will no longer see update notification for ‘macOS Catalina’.
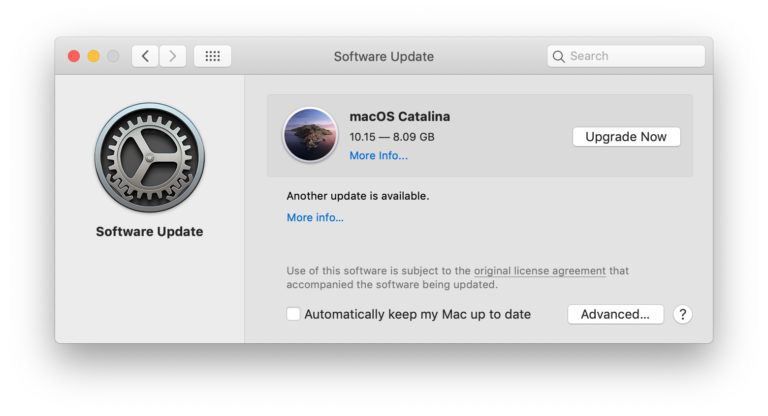

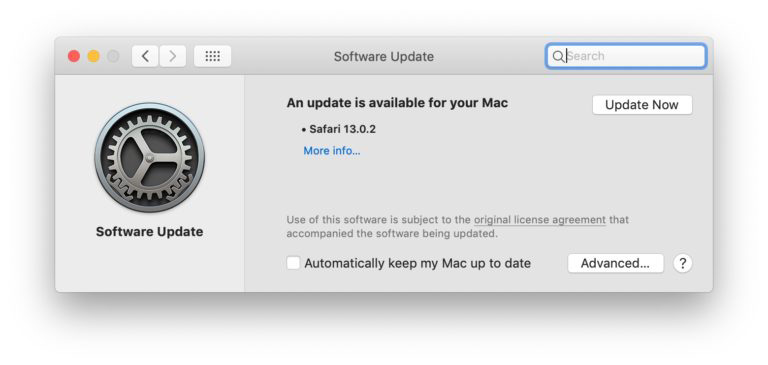
It is very easy to hide macOS Catalina update if you are not ready to install it on your Mac. So, just go through these steps properly and you will be able to stop update to Catalina.
Part 2. How to Make macOS Catalina Upgrade Available in Software Update Again
Previously, you did stop Catalina upgrade but after the release of 3 or 4 new versions you want to update to macOS Catalina, but as you did prevent Catalina upgrade, the notifications are no longer appearing.
So, how do you proceed?
Well, it is pretty simple! You just have to undo what you did to stop Mac from updating.
Now, in this situation we can do one of two things; the first one would be to start the process of macOS Catalina download from the App Store. Unfortunately, previously we used the command line to ignore the update notification. So, it will be best for you to come back to the ‘Terminal’.
So, just launch ‘Terminal’ on Mac and type the following in the command line.
- Sudosoftwareupdate --reset-ignored
You will be asked for authentication which you have to do via your Admin password. After typing the password, press ‘Return’ on the keyboard.
All steps are complete. Now, launch ‘System Preferences’. Navigate to ‘Software Update’ and the update notification for macOS Catalina will be visible again.
Part 3. A Useful Tip: Lost Data Recovery After macOS Update
Now, there have been many reports of data loss after the update of macOS. Updating to Catalina is a delicate procedure and also the OS is not without its flaws. Users have reported about macOS Catalina’s data loss issues numerous times.
The data loss may not happen to you but it sure helps to be prepared. So, if you have lost files after macOS Catalina update you are required to use a professional data recovery software, immediately. We are recommending MAC Data Recovery, as it is one of the best with close to 100% recovery rate and convenient use.
So, let’s have a quick look at the procedure;
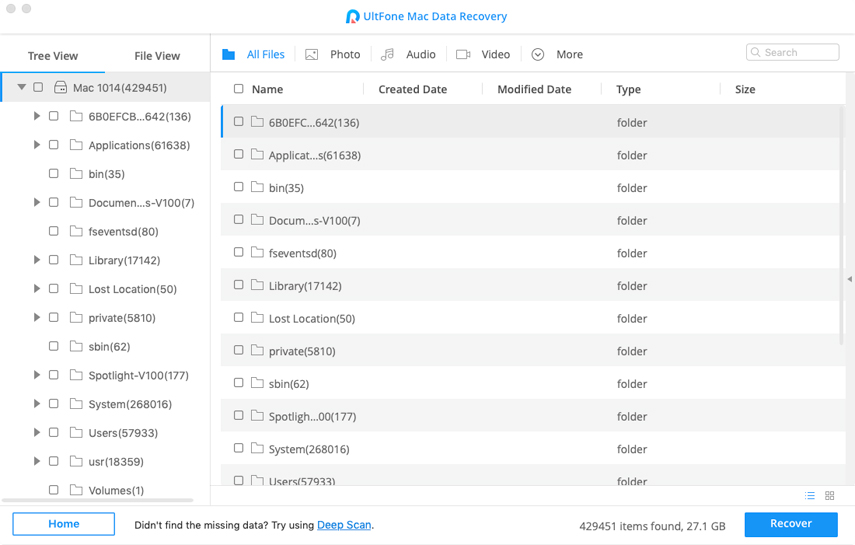
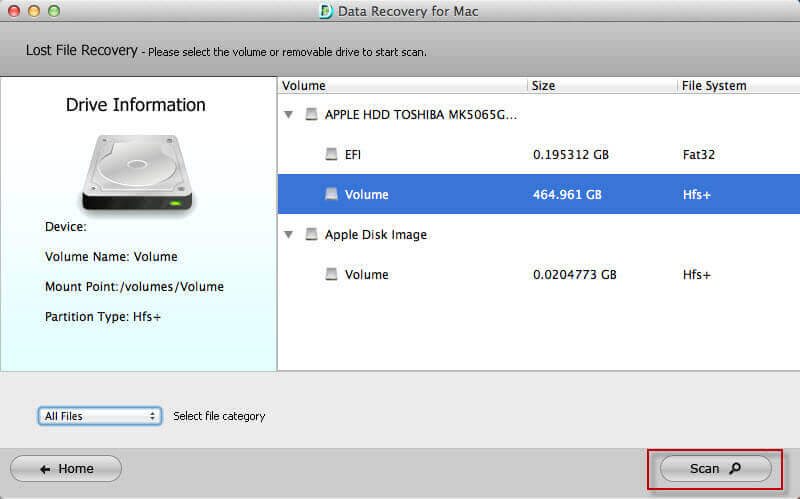
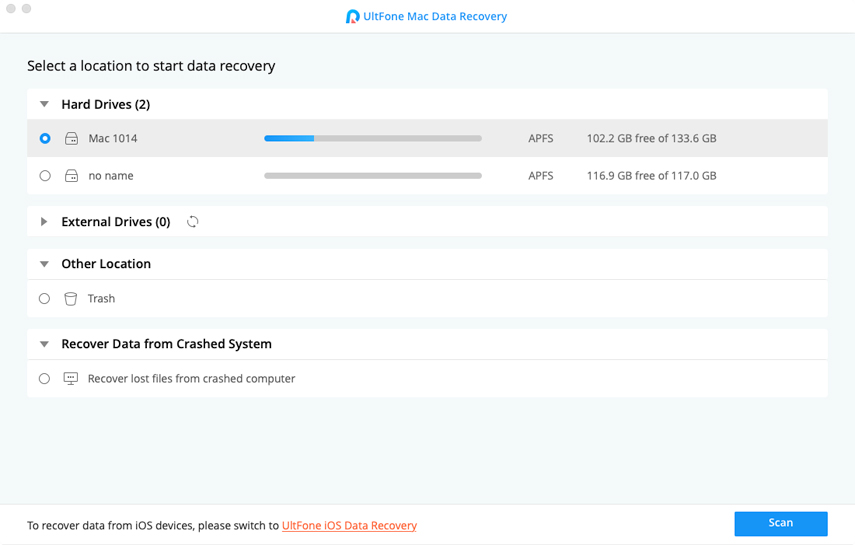
- Step 1 Simple, download and install Any Data Recovery on your Mac and launch it. Choose a location on your Mac’s hard drive and initiate the scan.
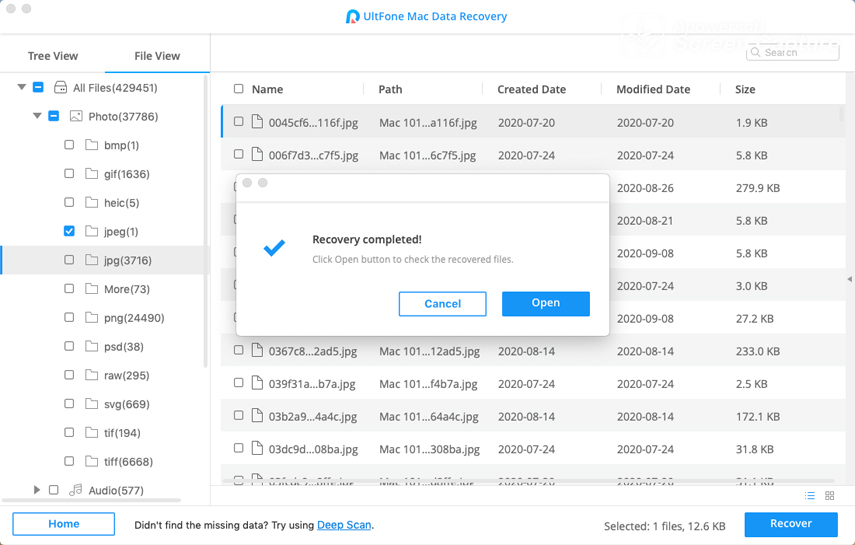
- Step 2 After the scan is complete, all the lost files on your Mac will be listed categorically and displayed on the screen.
- Step 3 You can click on specific files to get additional details. Then, choose the files and click ‘Recover’ and the files will be restored.
One thing to need to be aware of; is that no matter what you must not restore the lost files in the same partition they were previously. Doing this will make the data loss permanent and the chances of recovering those files will be zero.
Conclusion
Hence, it is very normal for the user to stop Mac update notifications. But even if you did stop the notifications; coming back will be very easy. Just read the article; the procedure is pretty simple.
But during the update if you have lost files on your Mac hard drive, then immediately use Any Data Recovery for the recovery of those files. You are required to use a professional data recovery program and Any Data Recover is one of the best programs available.

