How to Recover Lost Data if Recuva Can’t Recover Files
 Jerry Cook
- Updated on 2019-07-25 to Data Recovery
You may have accidentally deleted important files or lost your data in a computer crash. Normally, people will go find a 3-party data recover tool to get the lost files back and Recuva is one of the most commonly used.
The truth is if you Google Recuva, you can find that many people have problem with it and don’t know what to do. For example, people ask for help because Recuva can’t recover files deleted a few seconds ago, the recovered files just can’t be opened.
To solve this issue, there are 2 ways you can try, and it works for both Mac and PC users.
The easiest way is contact the Recuva support team to see if they can offer some help for you or they may guide you through the recover process. If you still can’t get your file back, you should just roll up your sleeves and find a better alternative to recover your data as soon as possible. The following guide will walk you through how to recover your lost data using Windows Data Recovery on a Windows PC.
1. Download and install Any Data Recovery, it’s available for free trial. It takes 3-5 minutes to finish the download and installation depending on your Internet speed.
Note: To ensure a successful recover, you should install it on a partition that is different from the one where your lost data.
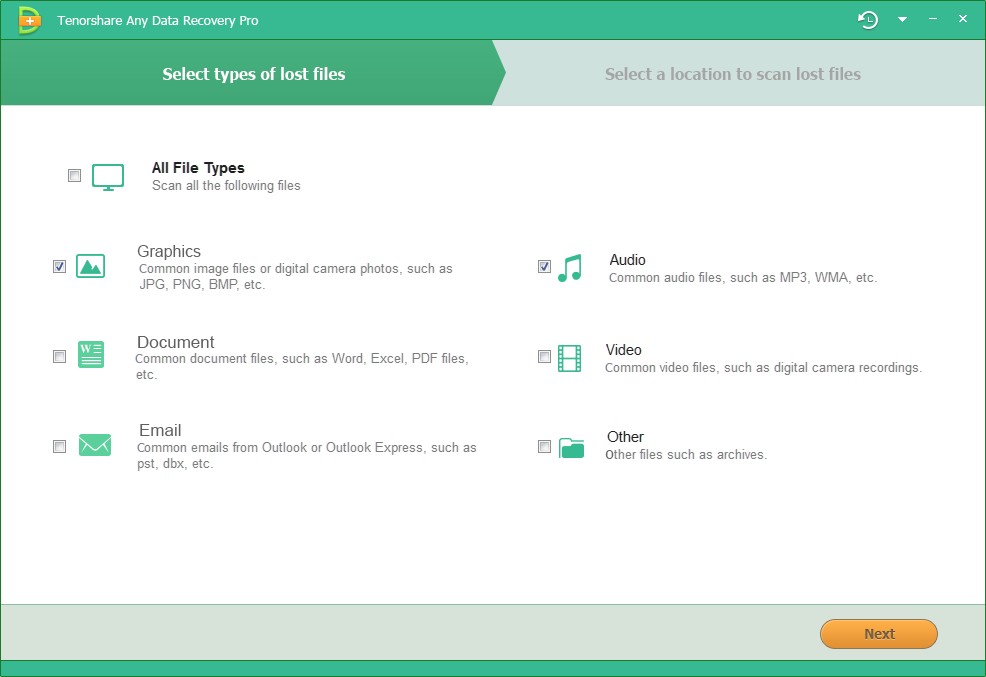
2. Open up Any Data Recovery after you successfully install it on your PC or Mac. Select the lost file data type in the interface and click Next.

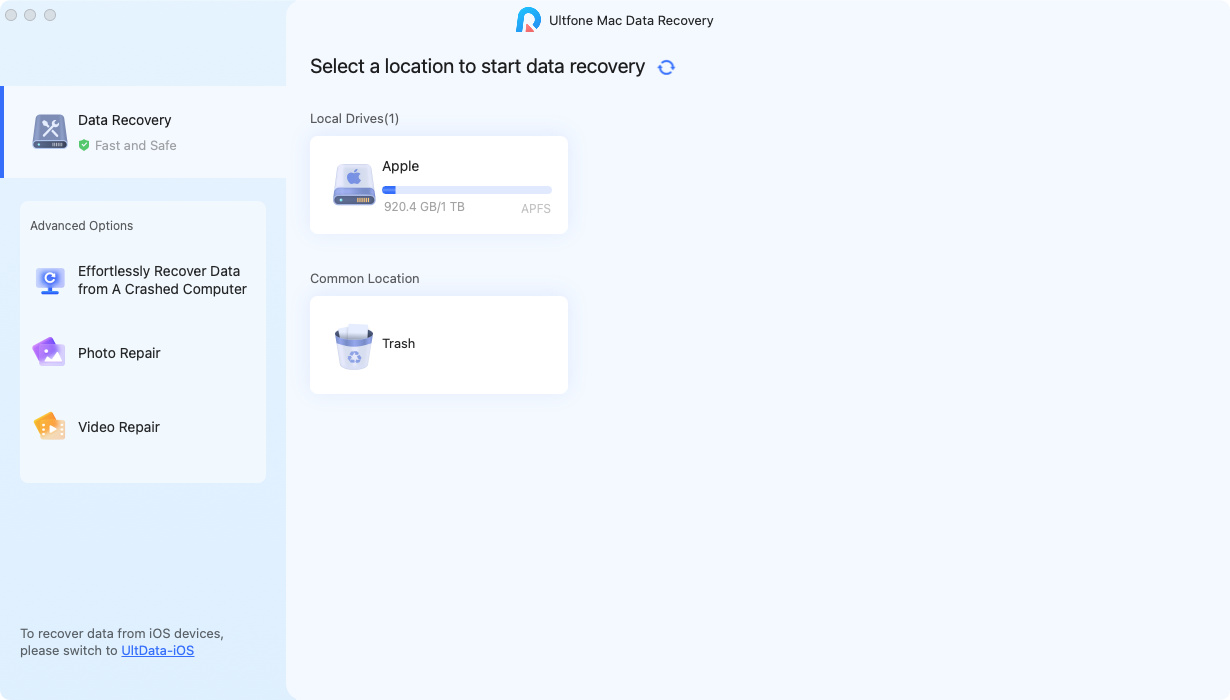
3. Choose the location where you lost the data. Click Scan to continue. For example, you accidently deleted an audio stored in Disk D. You should choose audio and select Disk D after click next. If you don’t know what the file is, just leave it; it will recover everything if you don’t choose a file type.

4. When the scanning is done, you’ll see a list displaying all the recoverable data and all of them can be clicked for a preview. Any Data Recover has a lot of bells and whistles that you would love to use.
- You can pause, continue and stop the scanning anytime you like
- It allows you to export the scan status and import a scan result that you haven’t finished
- Filter enables you to find the lost file more easily
- If you can’t find the lost file or can’t open the recovered one, use Deep Scan to try again
5. Find the lost file in the scan result and recover it.


